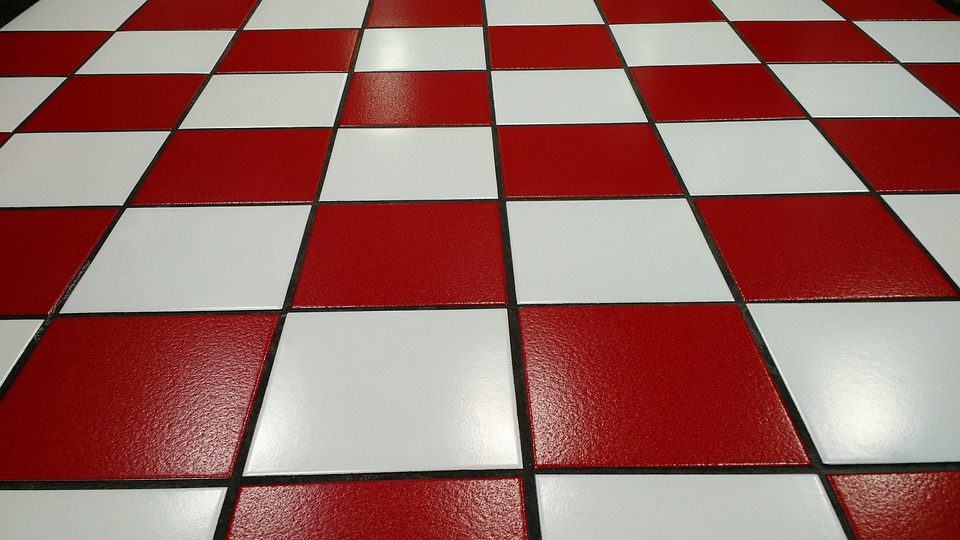
The Best Way to Clean Grout: A Step-by-Step Guide to Maintaining Your Sparkling Kitchen
Grout is the invisible glue that holds all the tiles together in your kitchen, bathroom, or laundry room. It’s the part of the flooring that often gets overlooked, but it’s also one of the most important parts of your flooring setup. You wouldn’t leave your kitchen sink or stove uncleaned, so why would you leave your grout neglected? Proper grout cleaning can save your tiles from stains, dirt, and years of use. In this article, we’ll walk you through the best way to clean grout so your kitchen (or bathroom, laundry room, etc.) looks its best.
1. Understand the Difference Between Chemical and Natural Cleaning Methods
The first step to learning how to clean grout is understanding the tools and products you have at your disposal. There are two main approaches: chemical cleaning and natural cleaning. Chemical grout cleaners are often the most effective, but they can be harsh. Natural cleaning methods, like using baking soda or vinegar, are gentler but may take longer to work. Here’s what you need to know about each method and when to use it.
2. Use a Grout Cleaner for an Easy, Yet Effective, Clean
If you’re short on time or want a powerful solution, a grout cleaner is your best bet. Many grout cleaners are specifically designed to tackle stains and odors in grout. These cleaners usually come in a paste-like form that you can spread over the grout lines and let it sit for a few minutes before mopping. Be careful not to mix too much cleaner with water, as this can damage the grout. Once the cleaner has worked, simply sweep up the excess and mop the floor with a clean mop.
Example: I recently tried to clean my grout the hard way—just dumped a bunch of baking soda and water on it and mopped. It looked okay at first, but after a day, the stains were still there. Thankfully, I remembered the grout cleaner, and now my kitchen looks spotless!
3. Mop After Cleaning with a Microfiber Mop for a Spotless Finish
If you’re looking for a more hands-on approach, you can clean the grout with a broom or a stiff broomstick, then follow up with a microfiber mop. Microfiber mops are great for picking up small particles and ensuring that the grout is completely clean. This method is especially useful if you want to avoid chemical cleaners or if you’re cleaning grout multiple times a week.
Example: My mom taught me how to clean grout by hand. She would sweep it with a broom, then use a microfiber mop afterward. It took a bit longer, but the result was always amazing!
4. Clean Grout Tones with a Grout Cleaner and a Spot Treatment
Not all grout stains are the same, and some require a more targeted approach. If you have discoloration or stains in your grout, a grout cleaner can help restore the natural color of the tiles. For stubborn stains, you might need to apply a grout spot treatment, which can be left on for a few minutes before mopping. These treatments are usually safe for the tiles and won’t damage the grout.
Example: I accidentally spilled ketchup on my grout one time, and I was worried it was going to ruin my kitchen. I used a grout spot treatment, and the stain was gone in a couple of hours!
5. Use a Grout Brush for Deep Cleaning
If you have a heavy grout stain, a grout brush is your best bet. You can mix a little grout cleaner with water and apply it with a soft-bristle brush. This method ensures that all the grout grime gets loosened and cleaned effectively. Once the cleaner has settled, you can use a broom or a microfiber mop to finish the job.
Example: My friend had a really tough grout stain in their bathroom. They used a grout brush and a grout cleaner, and it looked like new in no time!
6. Don’t Clean the Grout If It’s Too Dirty
It’s important to remember that not all grout needs to be cleaned. If your grout is extremely dirty or has a lot of stains, it’s better to wait until it’s less so before cleaning. Cleaning grout too often can actually strip natural minerals from the grout, which can weaken the tiles over time. Instead, focus on cleaning spots as they appear.
Conclusion: Make Your Grout Shine Brightly
Cleaning grout may not be the most glamorous part of maintaining your kitchen, but it’s definitely one of the most important steps to keep your tiles looking their best. Whether you choose a chemical cleaner, natural cleaner, or a combination of methods, the key is to be consistent. Over time, you’ll notice a difference in the condition of your grout—and your floors will look more inviting and professional.
Ready to give it a try? Share your experience in the comments below, and let us know how you clean your grout!