


Price: $13.99 - $11.99
(as of Apr 06, 2025 12:02:09 UTC - Details)
The Best Way to Apply Press-On Nails: Your Ultimate Guide
Introduction
If you’re looking for an easy and stylish way to enhance your nails, press-on nails are the perfect solution. They offer a quick transformation without the need for a salon visit, making them a favorite among beauty enthusiasts. In this guide, we’ll explore the best way to apply press-on nails, ensuring a flawless finish that lasts. We’ll delve into various tips and tricks, including preparation, application techniques, and maintenance, all while incorporating essential keywords like "how to apply press-on nails" and "press-on nails tips." Let’s get started on your nail journey!
1. Preparing Your Nails for Press-On Application
Why Nail Preparation is Crucial
Before diving into how to apply press-on nails, it's vital to prepare your natural nails properly. Proper preparation not only helps the press-ons adhere better but also ensures they last longer.
Steps for Nail Preparation
- Clean Your Nails: Start by removing any old nail polish. Use a gentle nail polish remover and cotton pads to clean your nails thoroughly.
- Shape Your Nails: Use a nail file to shape your natural nails. A square or round shape works best for most press-on nails.
- Push Back Cuticles: Gently push back your cuticles using a cuticle pusher. This step is essential for a smooth application.
- Buff the Surface: Lightly buff the surface of your nails to remove shine. This creates a better surface for the press-on nails to adhere to.
- Wash Your Hands: Finally, wash your hands to remove any dust or residue from the preparation process.
By following these steps, you’ll create the perfect canvas for your press-on nails.
2. Choosing the Right Press-On Nails
Finding the Perfect Fit
Choosing the right press-on nails is crucial for a natural look. You want to ensure that they fit your nail beds perfectly.
Tips for Selecting Press-On Nails
- Measure Your Nails: Use a ruler or measuring tape to measure the width of your natural nails. Most brands provide sizing charts to help you find the right fit.
- Consider the Length: Think about the length you want. Longer nails can be dramatic, while shorter nails are more practical for everyday wear.
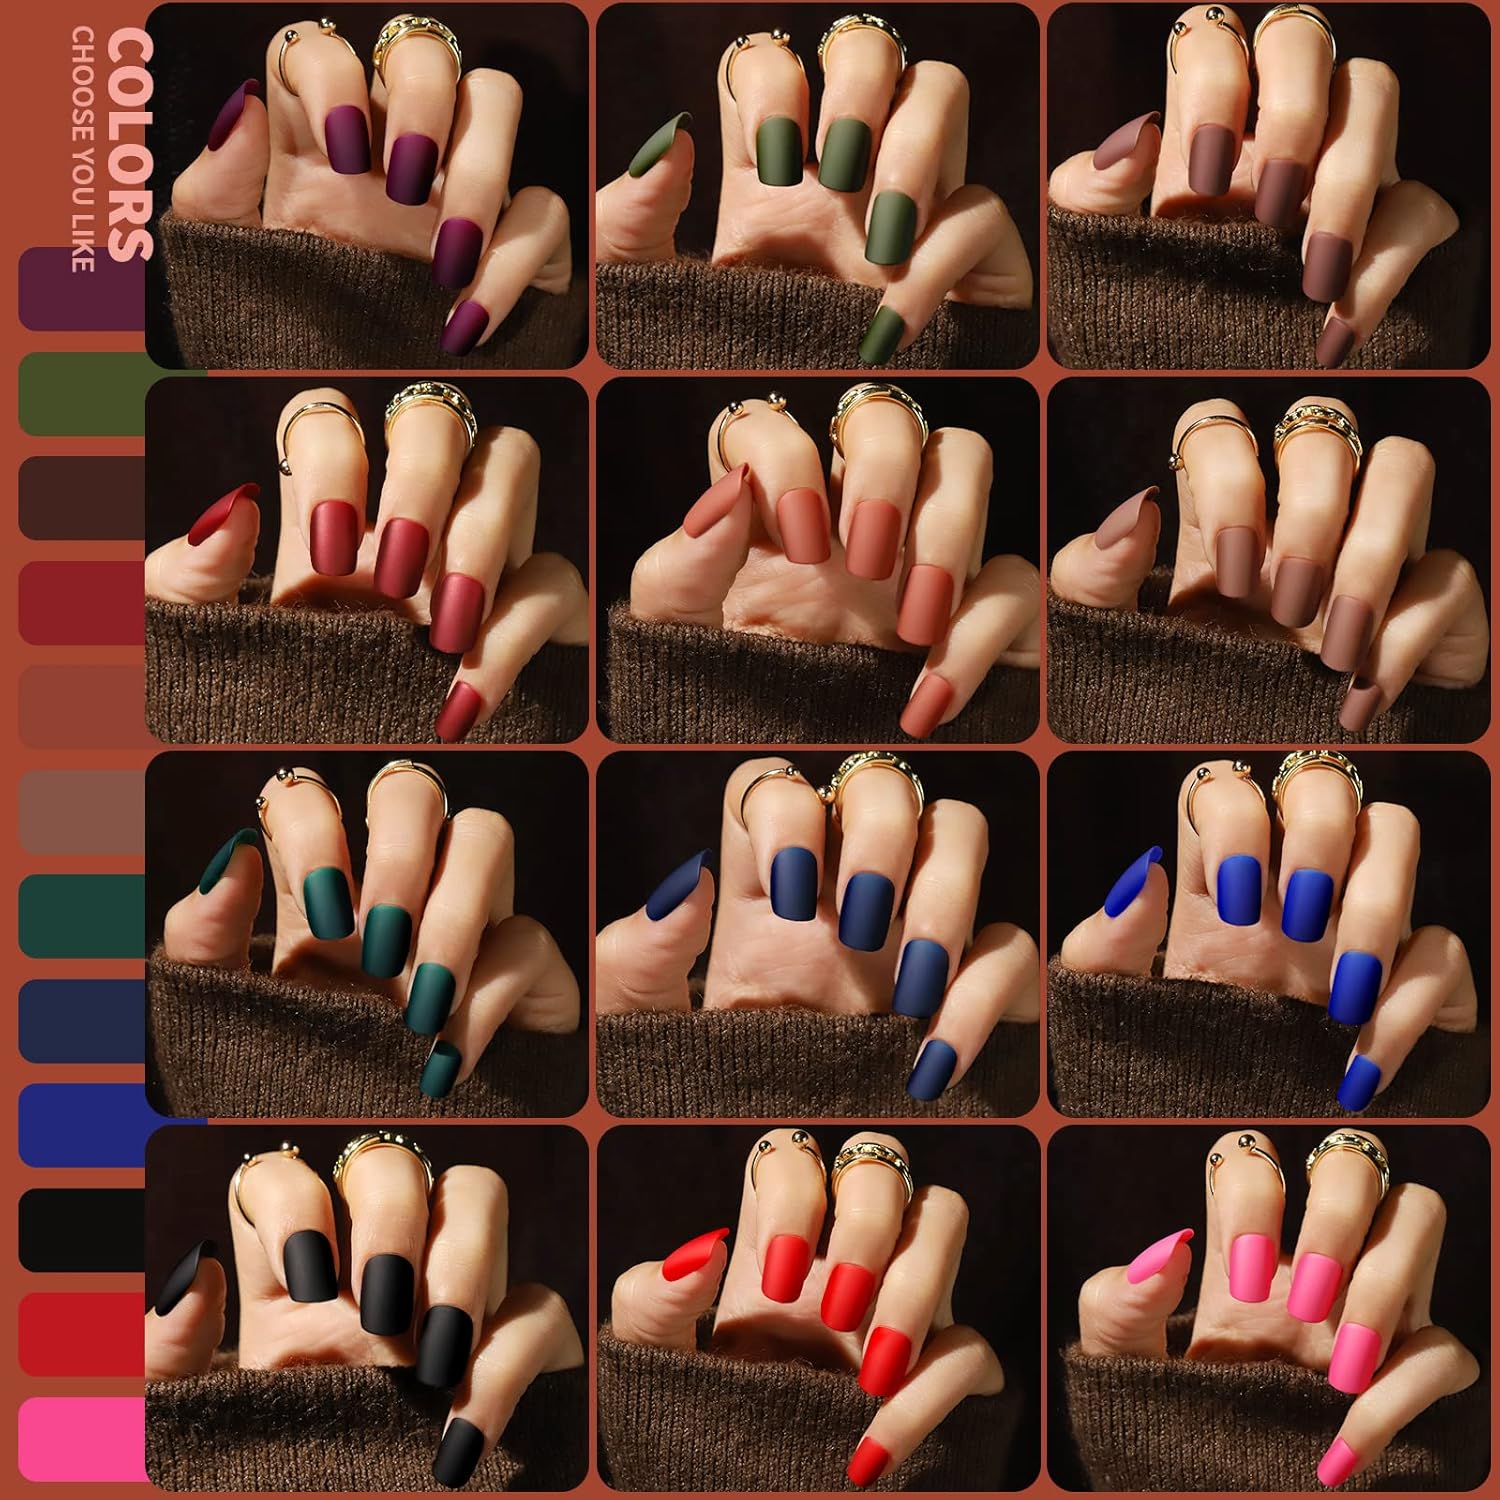
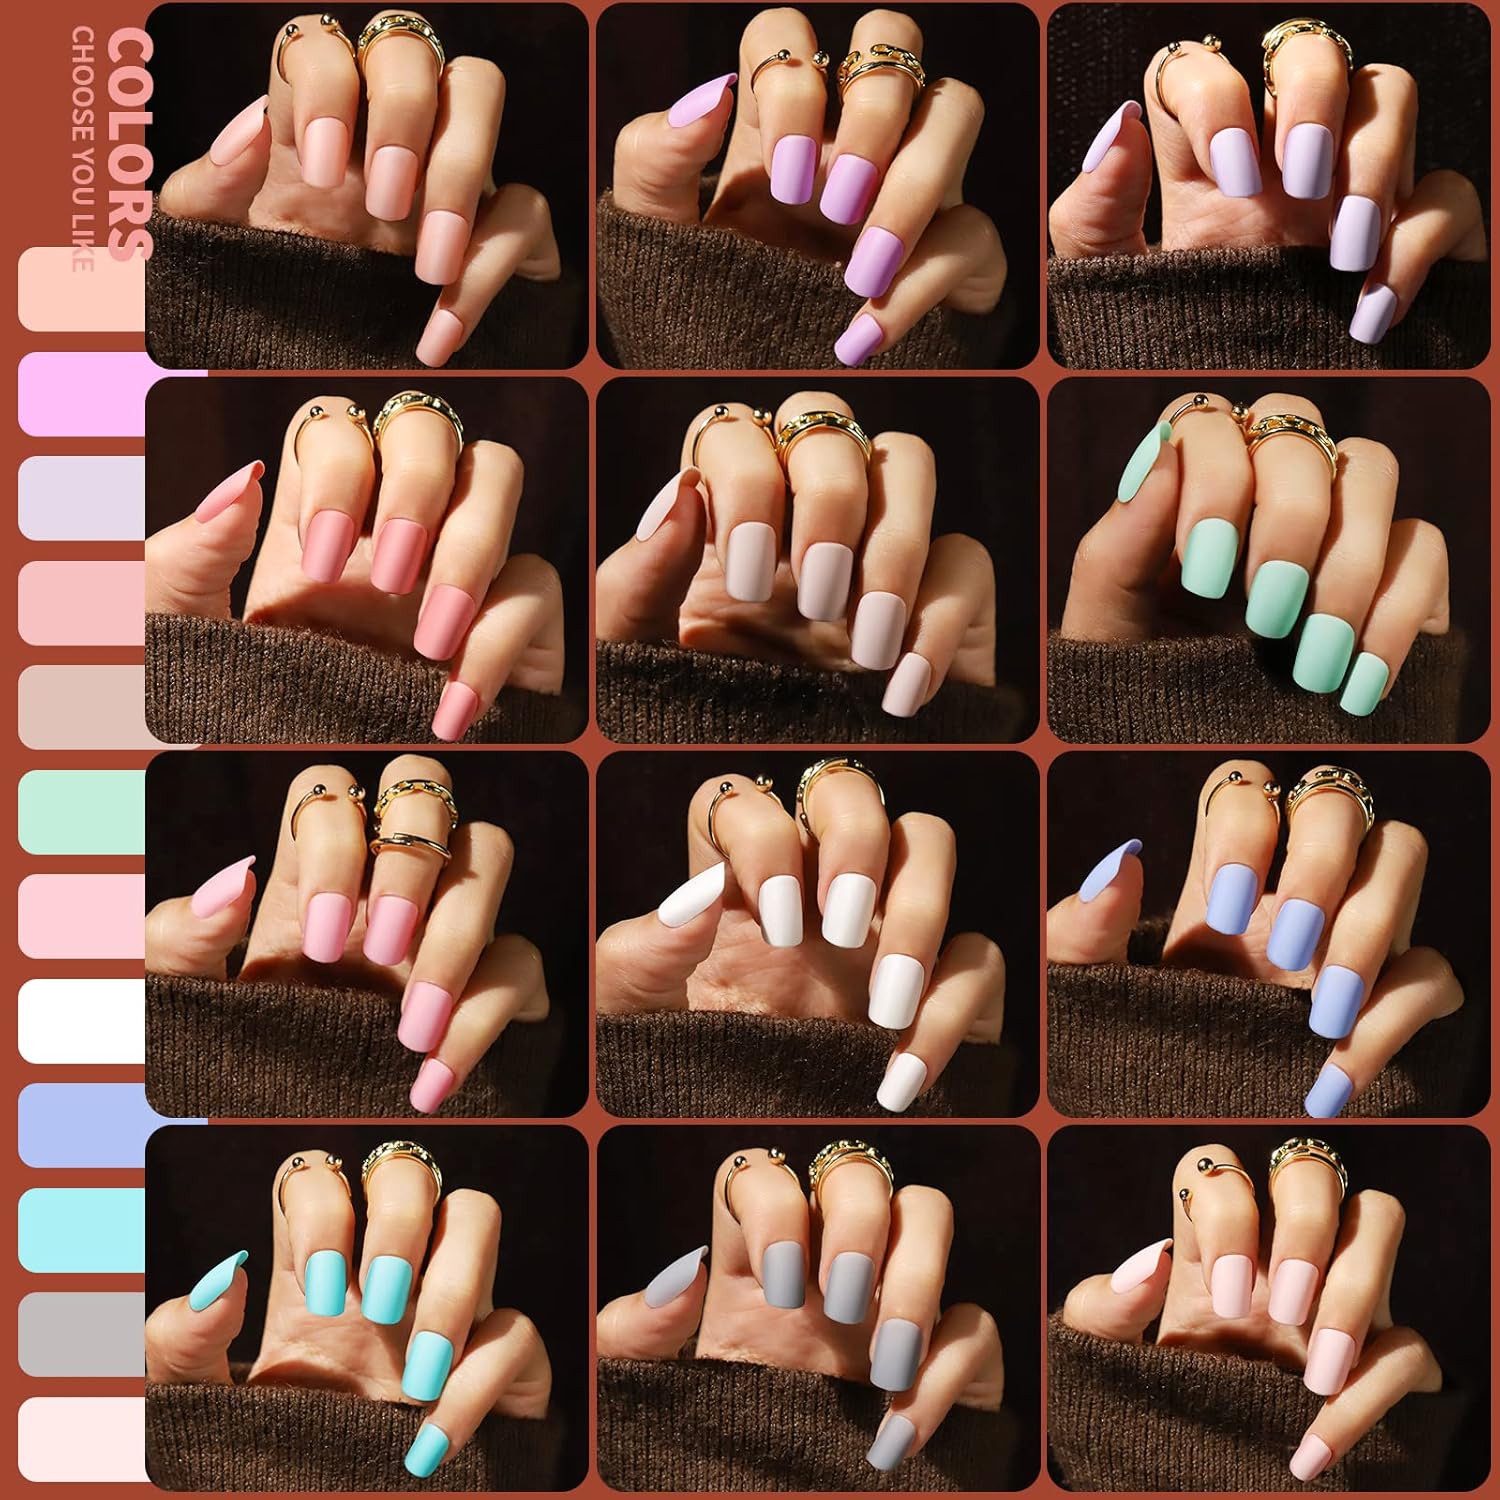
- Pick a Design You Love: From classic French tips to bold patterns, there’s a style for everyone. Choose a design that reflects your personality and suits the occasion.
Investing time in choosing the right press-on nails will make your application process smoother and enhance your overall look.
3. The Best Way to Apply Press-On Nails
Step-by-Step Application Process
Now that you’ve prepared your nails and chosen your press-ons, it’s time to apply them. Here’s a simple step-by-step guide.
- Gather Your Supplies: You’ll need your press-on nails, adhesive (if not pre-glued), a nail file, and some alcohol wipes.
- Clean Your Nail Surface Again: Use an alcohol wipe to clean your nails one more time to ensure they’re free from oils.
- Apply Adhesive: If your press-ons aren’t pre-glued, apply a thin layer of adhesive on your natural nail, focusing on the center.
- Press and Hold: Align the press-on nail with your cuticle and press it down firmly. Hold it for about 10-15 seconds to ensure a strong bond.
- Repeat for Each Nail: Continue this process for all your nails, making sure to apply them evenly.
- File for Perfection: Once all nails are applied, you can file the edges for a more natural look.
Following these steps will help you achieve a salon-quality finish at home.
4. Tips for Making Press-On Nails Last Longer
Extend the Life of Your Press-Ons
To get the most out of your press-on nails, it’s essential to take care of them properly. Here are some tips to help you make your press-ons last longer.
- Avoid Water for the First Hour: After applying, try to avoid water for at least an hour. This allows the adhesive to set properly.
- Use Gloves for Household Chores: Protect your nails by wearing gloves when doing dishes or cleaning.
- Moisturize Your Hands: Keep your hands and cuticles moisturized to prevent any lifting of the press-ons.
- Limit Exposure to Heat: Avoid exposing your nails to high heat, as this can weaken the adhesive.
These simple maintenance tips will help you enjoy your beautiful nails for an extended period.
5. Removing Press-On Nails Safely
The Right Way to Remove Press-Ons
When it’s time to take off your press-on nails, you want to do it safely to avoid damaging your natural nails. Here’s how to do it right.
- Soak Your Nails: Fill a bowl with warm, soapy water and soak your nails for about 10-15 minutes. This helps loosen the adhesive.
- Gently Pry Off the Nails: Using a wooden stick or cuticle pusher, gently pry the edges of the press-on nails. Do this slowly to avoid any damage.
- Use Nail Polish Remover if Necessary: If some nails are stubborn, apply a bit of acetone-based nail polish remover around the edges to help loosen them.
- Buff Your Natural Nails: After removing the press-ons, lightly buff your natural nails to remove any leftover adhesive.
These steps ensure that you can enjoy your press-on nails without compromising the health of your natural nails.
Conclusion
In conclusion, applying press-on nails can be a fun and rewarding experience when done correctly. By following the best way to apply press-on nails, from preparation to removal, you’ll achieve stunning results every time. Remember to choose the right nails, prepare properly, and take care of them to enjoy their beauty for as long as possible. Whether you’re a nail art newbie or a seasoned pro, press-on nails are an excellent option for anyone looking to elevate their style effortlessly. So go ahead, grab your favorite set of press-ons and give your nails the makeover they deserve!
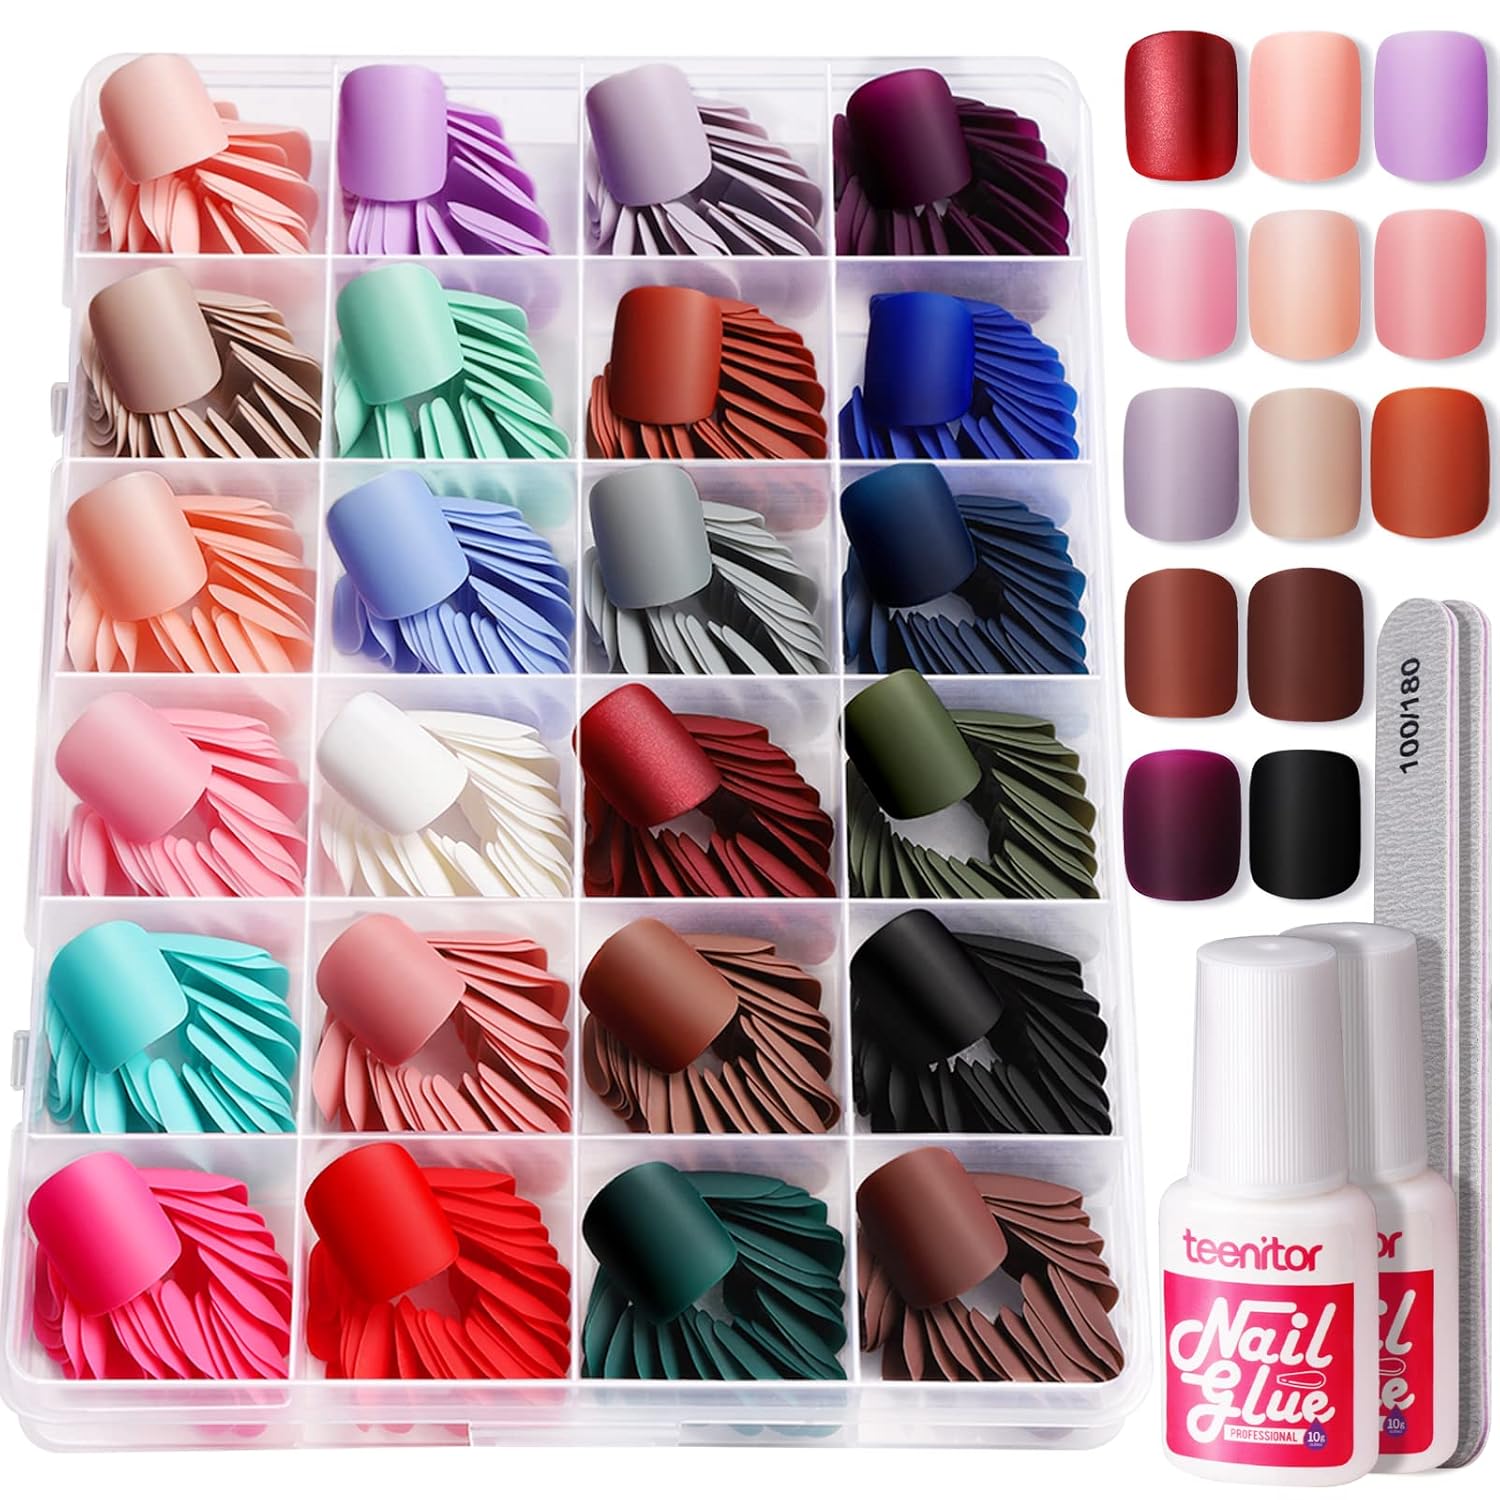
Short Matte Press On Nails Kit:Package Include 24 packs 576pcs matte Square press on nails short length, 2pcs 10g nail glue, 2pcs 100/180 grits nail file
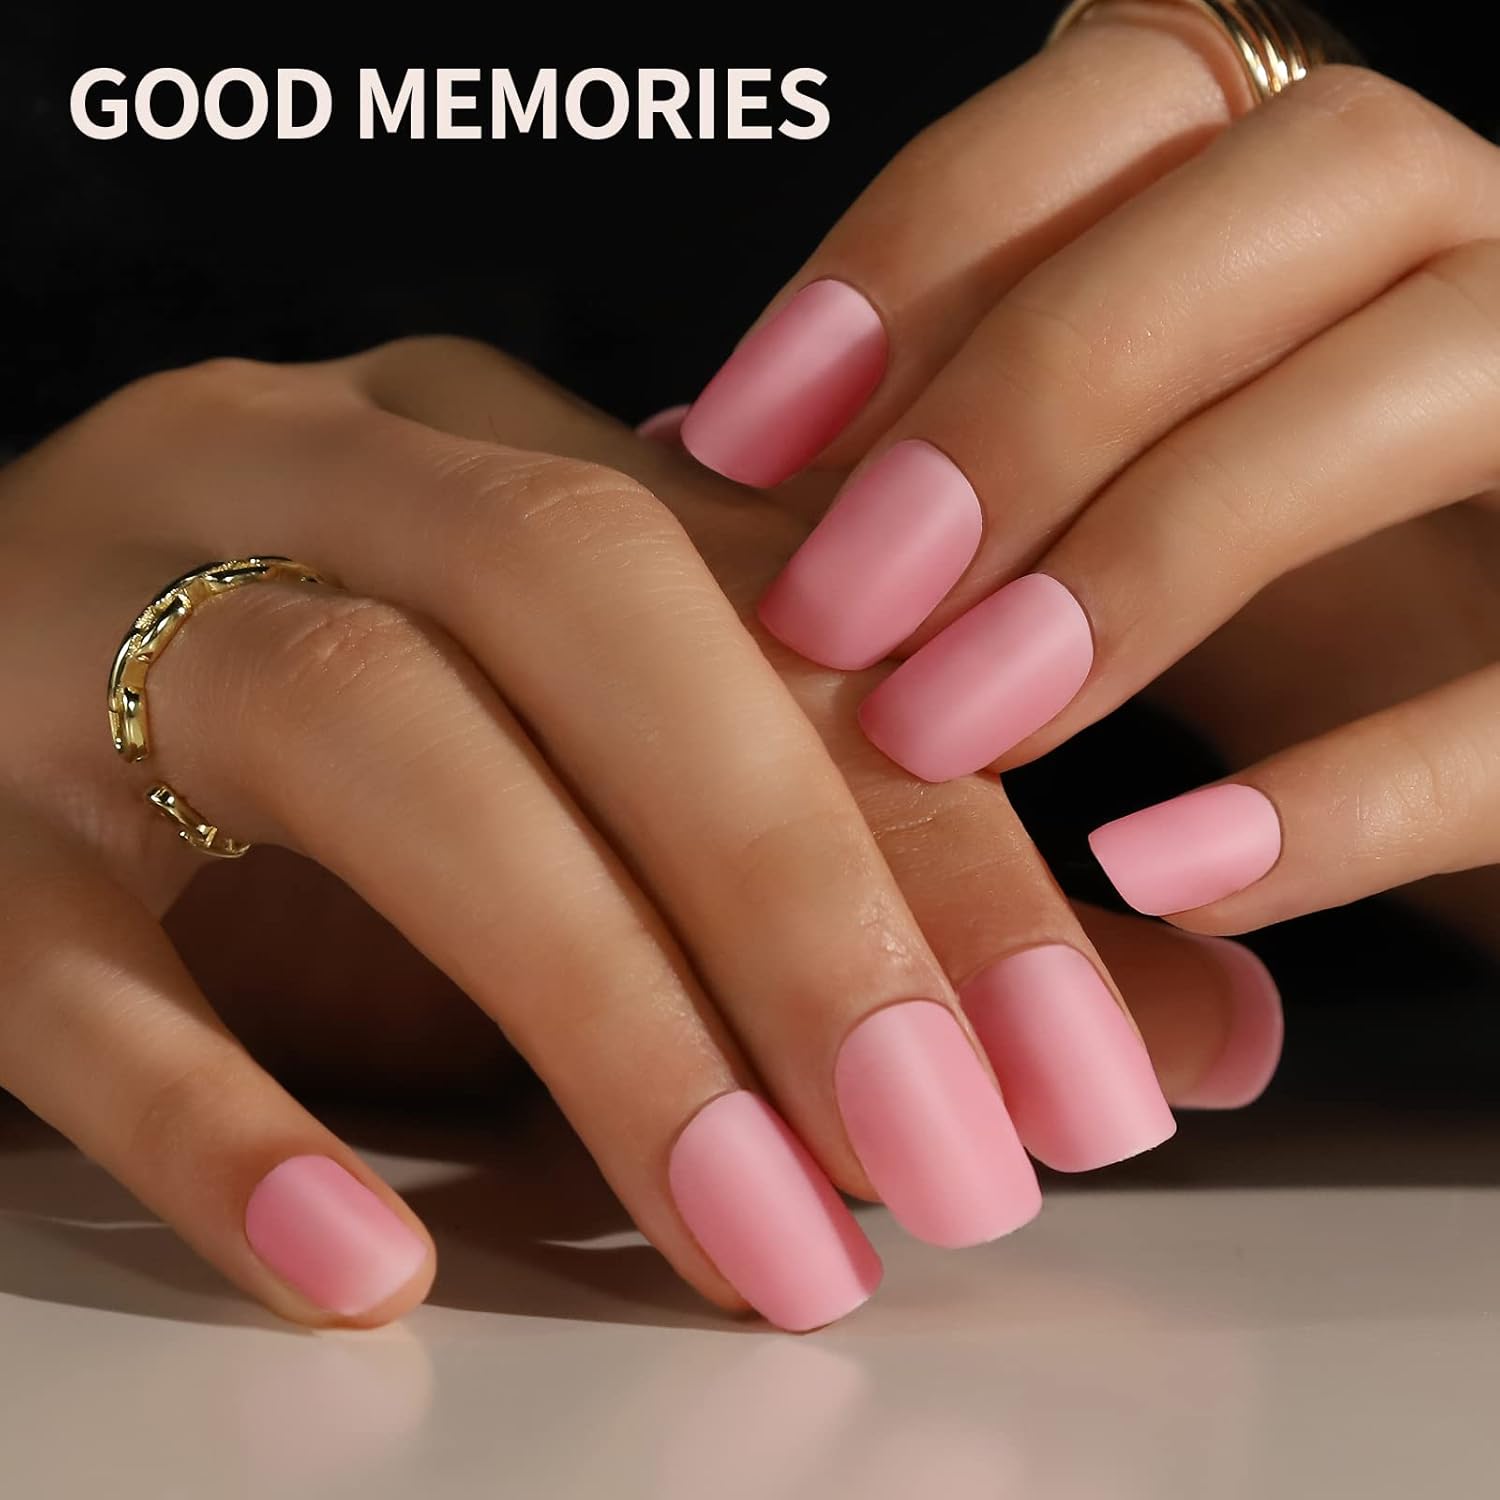
Sturdy Press on nails: The fake nails are made of high quality ABS material.They're mega affordable, never chip.The bottom of the false nail is flexible that can fit your natural nails well and don’t hurt our nail edges and the top of the fake nail is more solid to avoid folding. Which can be cut & filed like real nails and usually only take about 10 or 15 quick and easy minutes to put on.
Strong Brush On Nail Glue: Teenitor nail glue is fast drying, quick bonding, adhesive perfect, can last for a long time. Provide ultra strong nail bonding effect, give a 21+ days long lasting wearing time.Designed with a applicator brush that is easier to use than the squeeze bottle, this nail glue is necessary for the press on application.
Bigger size with 12 Sizes Press on False nails, fit to both small and big grown adults nail bed: each grid contains 24 pieces of Nails in 12 sizes, For each nail shade, you receive a pair of nails in 0,1,2,3,4,5,67,8,9,10 and 11.There is enough variety to find the right fit for each nail. No 0 is designed bigger than usual to fit big nail bed.The press on nails are pre-numbered on the tips for easily find.
Tips to last more days: Start with clean, polish-free nail beds, then remove any oily residues with rubbing alcohol or nail polish remover before using glue and didn't get your hands wet for an hour after finished